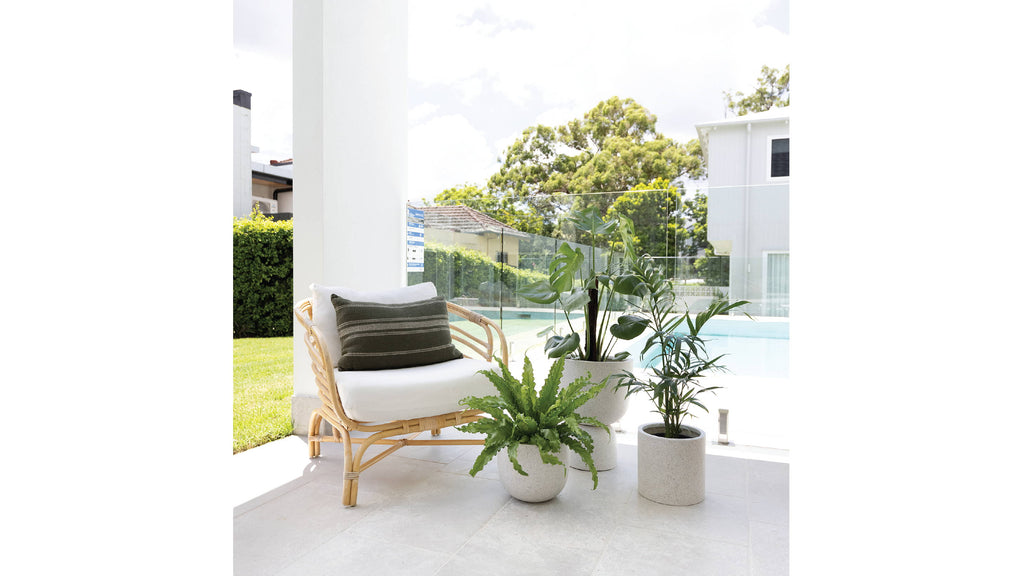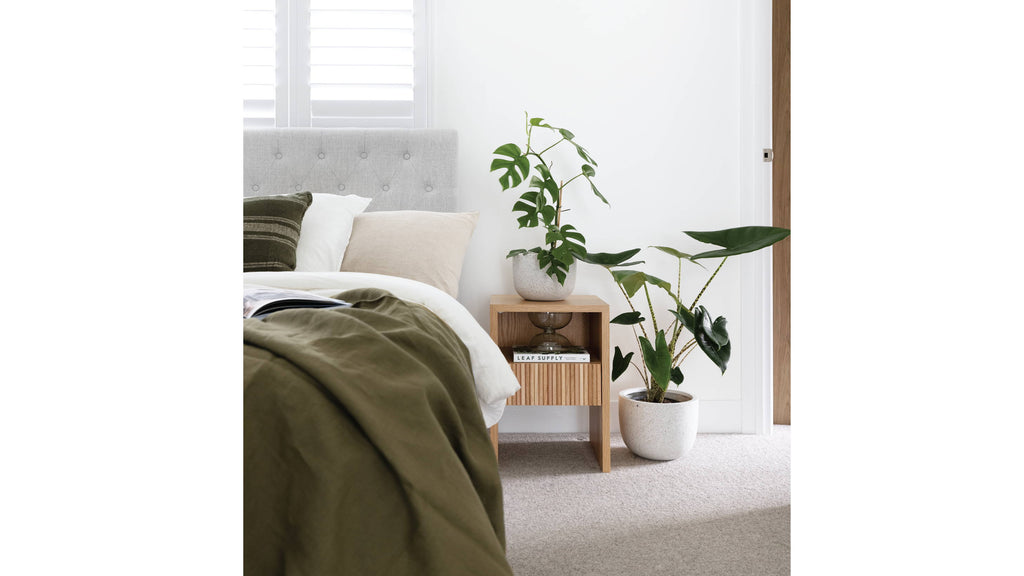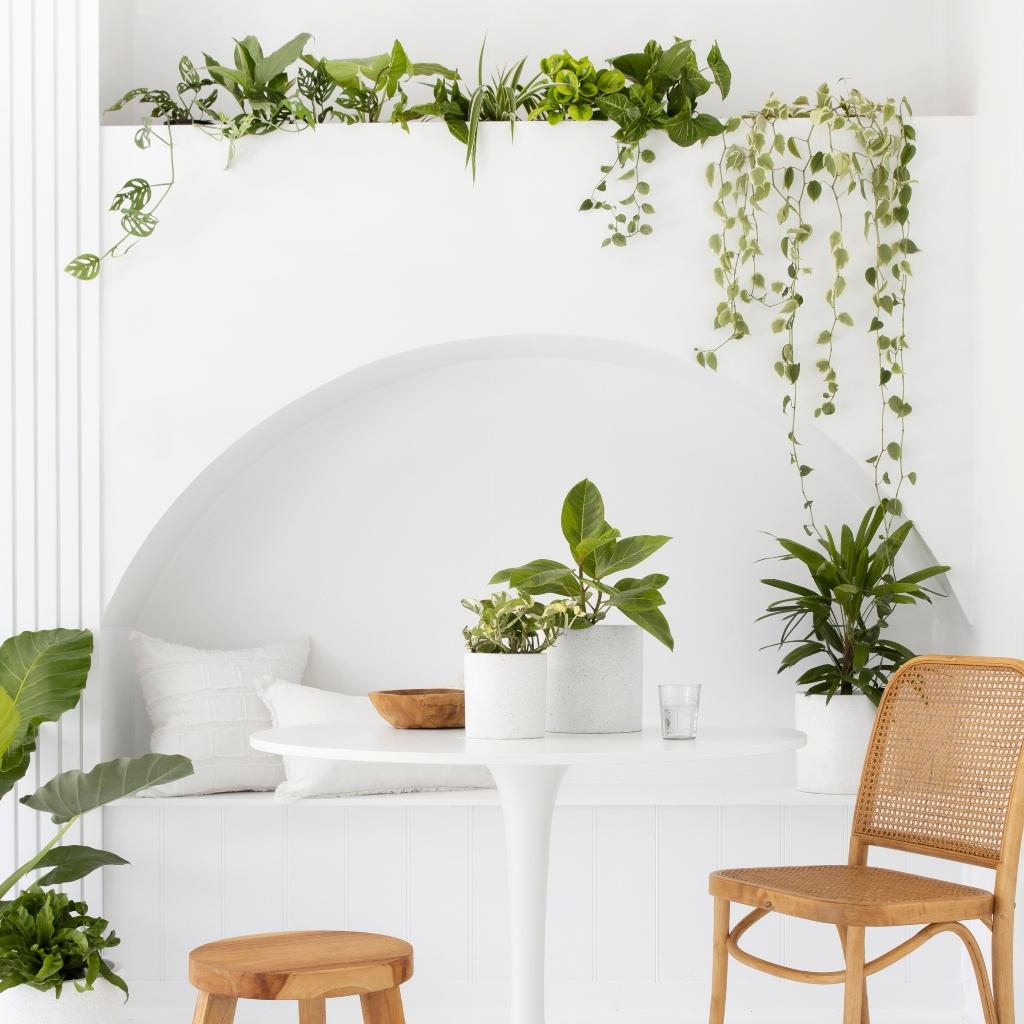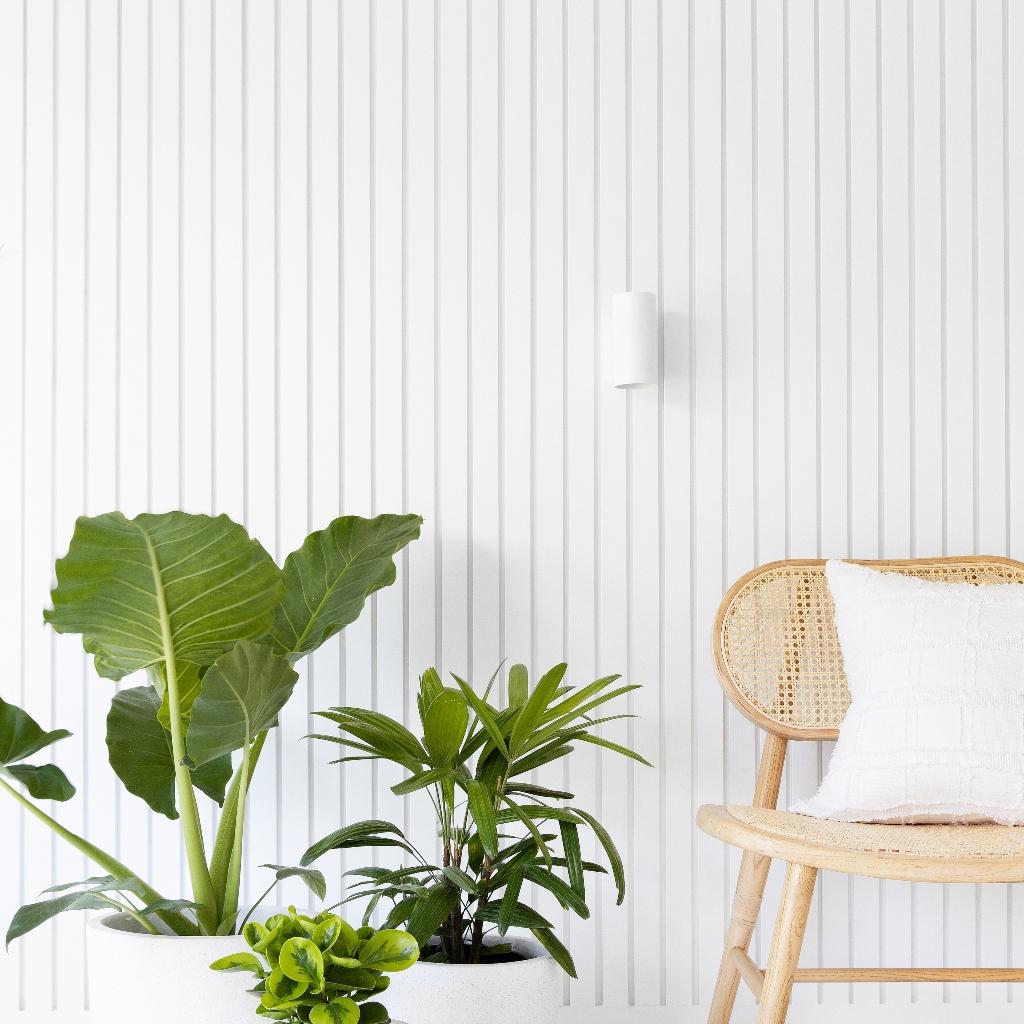


Staying home this Easter break and looking for something to keep you busy? It’s a great time to get amongst your indoor plants and give them some extra TLC. The best time to repot your indoor plants is from Spring to Early Autumn, when the weather is warm enough to encourage fresh root and leaf growth.
If you’re new to plant parenthood, repotting can seem intimidating. We all understand the feeling that comes with taking on new parenting duties and wondering "What do I need?" But don't worry! repotting isn’t as complicated or IT-heavy like some might make it out to be—we're here for you every step along your journey as plant parent (whether beginner or pro).
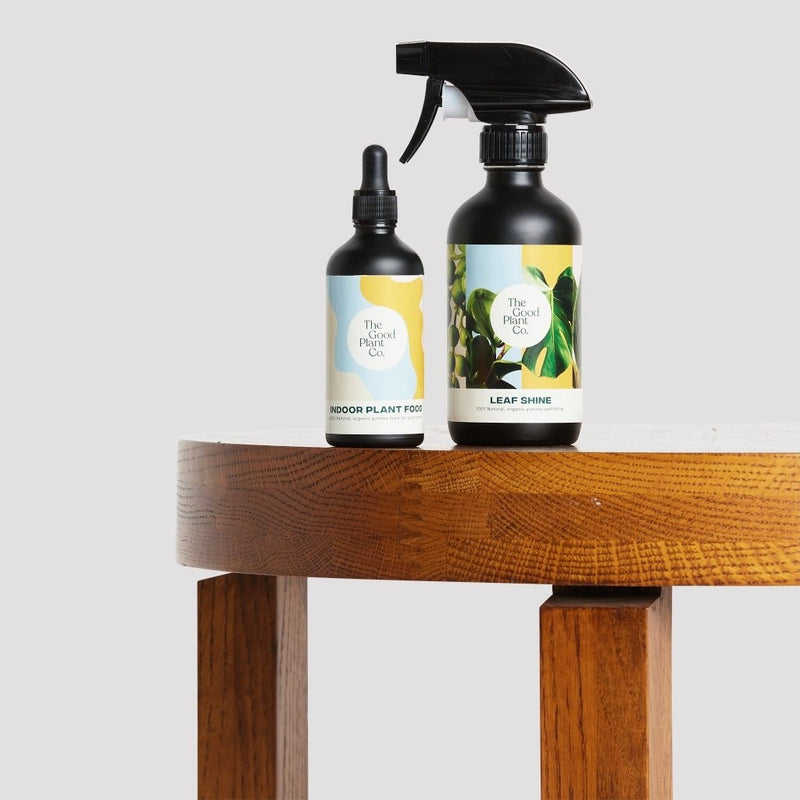
We’ve taken out the guess work of what you will need when repotting your plants – repot your plants with the necessary tools in one convenient kit! Our Repotting Kit comes complete including Plant Parent approved potting mix, plastic nursery pots 3 different sizes, Bonsai Scissors for precision cutting roots or trimmings along with a Moisture Meter an bottle of Indoor Plant Food and Leaf Shine specifically formulated by our team here at The Good Plant Co.

Let’s get to work – read on…
STEP 1 - Look For Signs
Once you’ve determined your plant needs repotting, here’s a video tutorial on how to repot your indoor plants.
STEP 2 - Take Plant Out
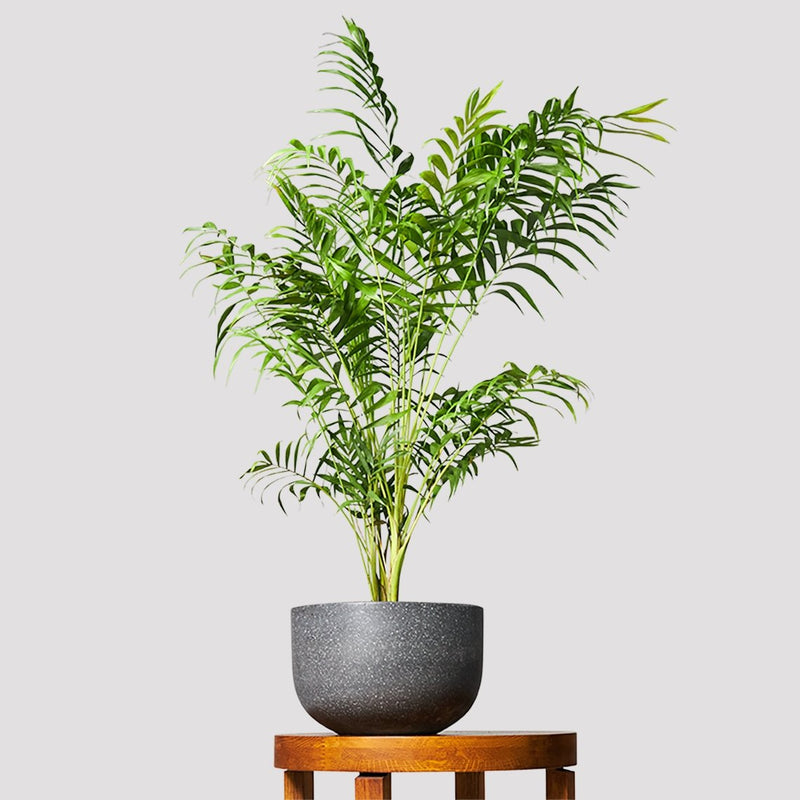
Now is also a good opportunity to divide congested clumps of plants (eg. Chinese Money Plants, Sansevieria Hahnii, Philodendron Birkin or Spider Plant).

STEP 3 – Upsize Your Pot
Take your plastic pot up a size. Small to medium, medium to large etc. Fill the new pot (about a quarter full) with some of our premium potting mix. Our Repotting Kit contains 3 different size pots to ensure you have the right size on hand when needed. Place the plant in the centre of the new pot, positioning the top of its root ball a few centimetres below the top of the pot.

STEP 4 – Fill, Compost & Feed
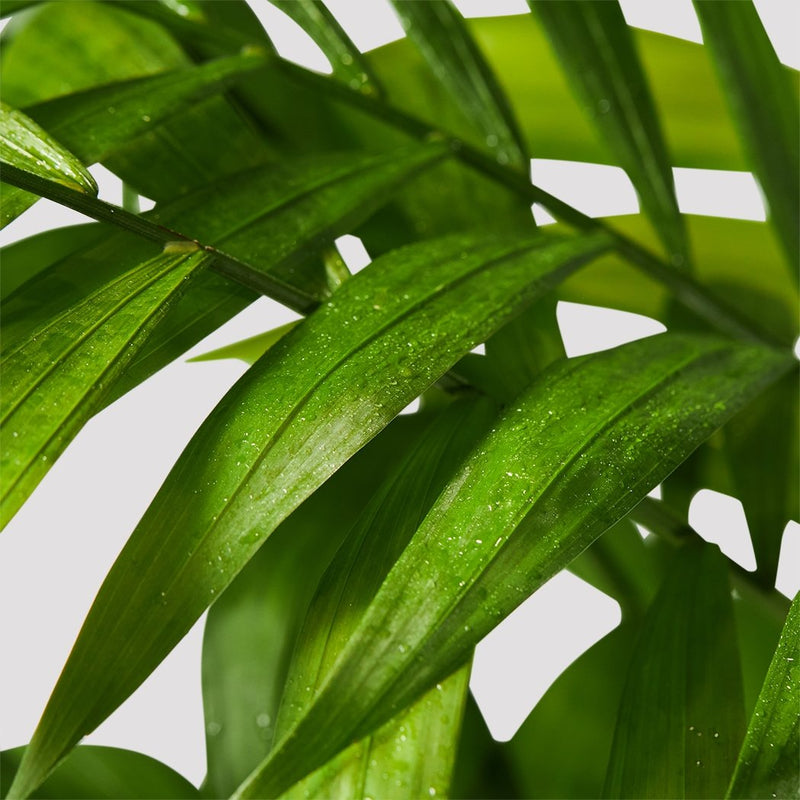
Water your plant thoroughly until the water flows freely from the bottom of the plant. Alternatively, if it is time to feed to your plant then use our Indoor Plant Food in this step. Finally, wipe over the leaves with our Leaf Shine and pop your plant back into its decorative pot and enjoy!

WANT MORE?
Check out our Plant Match Quiz to find your perfect plant frond!
THERE'S MORE